Road and Driveway Building Tips
Build Your Road or Driveway Right the First Time
The most important part of a road or driveway is the base foundation. This is the part you can’t see once the road is built! With these road and driveway building tips, you will be able to have a meaningful conversation with prospective excavation contractors, choose the right one with confidence and build it right the first time!
Avoid the temptation to go with a low-ball bid unless you’re certain the contractor will create a proper foundation and not cut corners. Everyone wants to save some money but Old Man Winter is sure to expose the hidden shortcuts of a poorly built road or driveway and it will cost much more in the long run.
The road and driveway building tips below fall into two main categories: building a road or driveway with a proper sub structure and ensuring that the road or driveway repels water.
Here are our rural road & driveway construction tips for Southern Oregon and beyond.
Building a Road or Driveway with a Proper Substructure
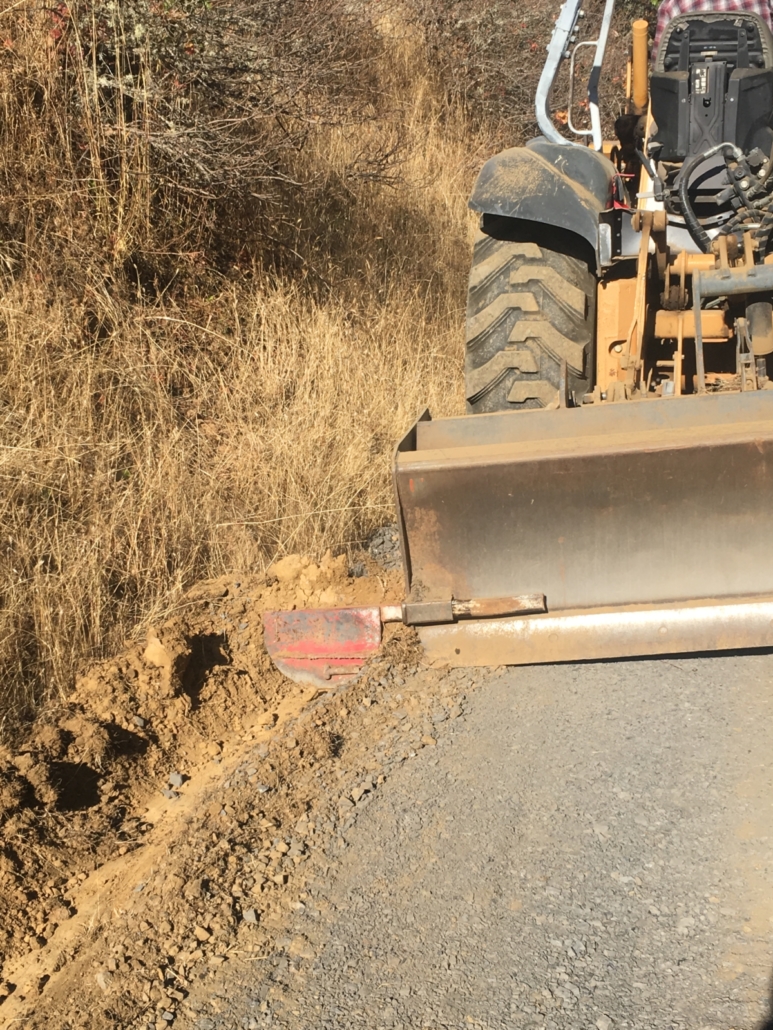
- Build on a strong, native interface. The road and driveway contractor must know how to read the ground and choose the best path for the new road. He bases his decisions on the natural grades and the qualities of the earth.
- Set the sub structure or base over geo textile. Geo textile aka “road fabric” is made of synthetic fibers and strengthens the road exponentially.
- Compact the native earth. A vibratory roller will consolidate the base soils and remove air pockets. This compacted base will be much firmer and will also prevent absorption of water.
- Compact again after topping the native soil with structural rock. Spraying with a water wagon or truck will tighten and “key in” the structural rock.
Ensuring that the Road or Driveway Repels Water
- Avoid low areas where water will pool. This goes back to looking at the lay of the land and choosing the best path for the road or driveway. If you must build through a low area, bridge it with fabric and a thick section of rock. A dry casting of Cement along the bottom of the outside edge will also seal, repel and strengthen, minimizing potholes.
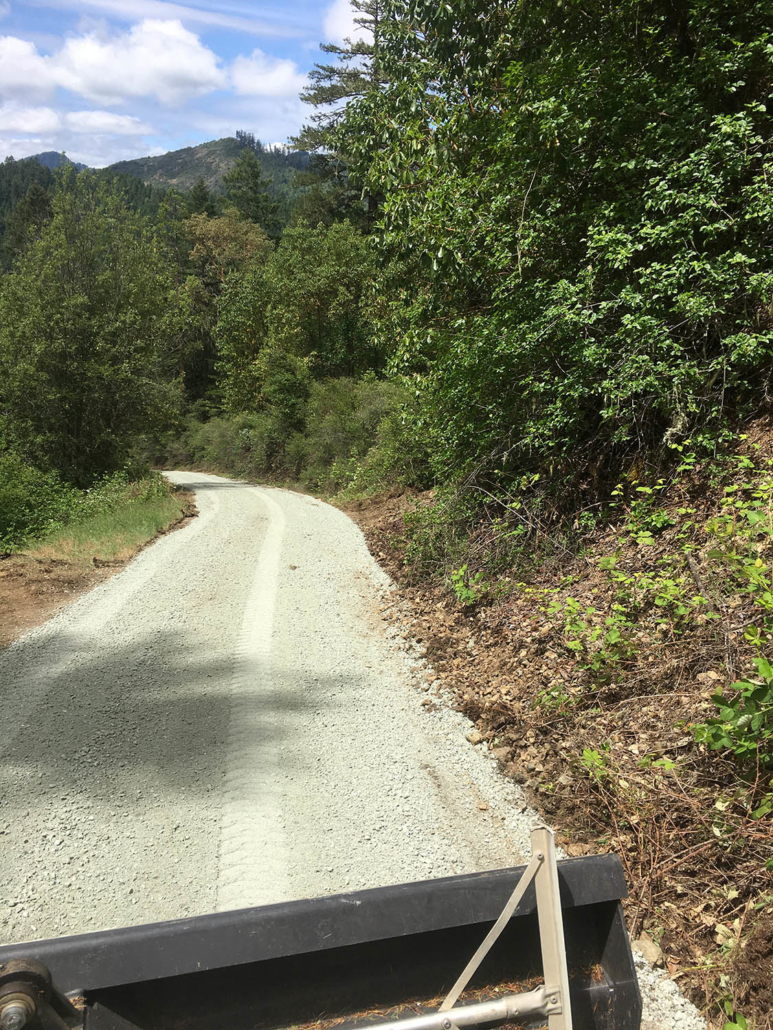
- Cut in the road so that water flows off to the sides. The middle of the road or driveway should be slightly higher than the shoulders.
- Create a bar ditch adjacent to the road’s shoulder. The bar ditch runs along either side of the road and carries away runoff.
- Pay attention to the ground adjacent to the road because this is the ground that will have to carry away drainage water.
- Slope the bank properly. If the land on the side of the road slopes down towards the bar ditch, make sure that the slope is not too steep. The grade should be no greater than 2:1. This means that for every foot of rise as the ground slopes up from the road, it is graded back two feet away from the road.
- Don’t skimp on converts. Culverts are placed to carry impounded water from the higher side of drive to the downhill side. A culvert should always be considered a money saver! The cost of installing one is minimal compared with on going maintenance costs when the culvert is missing.
In conclusion:
Unfortunately, it is all too common for excavation contractor to bid low in order to get the job and then to cut corners. Uninformed homeowners see the equipment working and the finished road looks good. They don’t realize that costly liabilities are concealed under the nice looking surface. It’s like putting frosting on a cardboard cake. It might look great but it will not stand up to the test of time.
So build your road or driveway right the first time and save money and headache in the long-run.
Mark Taylor, is a General Engineer Contractor. He has been designing Rural Drives in challenging terrain for 40 years. He also holds patents for his innovative waste water pump station components. Call Today (541) 779-3565 and build a long lasting Taylor Made road or driveway! More contact info here.